Guide: Executing a test case
Track |
|---|
This guide walks you through the process of executing a test case.
What you will achieve
At the end of this guide you will have used the Test Bed to select, execute and review a test case. You will:
Create a system for an organisation as the subject of the tests.
Create a conformance statement to define what you aim to conform to.
Execute a test case.
Review test session results.
Note
Using the DIGIT Test Bed demos: The DIGIT Test Bed includes a set of demo test cases that are publicly available. As an alternative to using the test setup from Guide: Defining your test configuration, you could use these demos by:
Connecting to the DIGIT Test Bed.
Selecting from the welcome page to “try out our demos”
Authenticate using your EU Login account.
What you will need
About 10 minutes.
A web browser.
A Test Bed instance that you can access via your browser.
An already configured test setup in the Test Bed (i.e. a domain, specification and test suite).
An organisation administrator account to use for logging into the Test Bed.
The Test Bed user guide (to optionally lookup additional information on each of the described steps).
How to complete this guide
This guide will lead you step-by-step through the Test Bed’s user interface to select and execute a test case. As you will be needing an existing test setup, this guide builds upon Guide: Defining your test configuration, extending it to show the typical steps that would be followed by an organisation’s user. If you are starting with an empty Test Bed instance for local development it is advised that you first follow this guide’s Steps to setup a basic test configuration.
To summarise the fictional scenario for this guide, we assume that a cross-border project is defining a new specification for the content of purchase orders exchanged between EU retailers. A member of this project has already setup the Test Bed with a first test case to upload a purchase order for validation. You are assumed to be a retailer’s developer that will be using this test case.
Setting aside the scenario assumed by this guide, you should be aware that the steps you will follow would be the same regardless of your testing scenario or whether you are using the online DIGIT Test Bed. You would of course be providing different information but the use of the Test Bed’s features would be identical.
Finally, keep in mind that all the steps you will be following are documented at length in the Test Bed user guide. The current guide provides a guided and condensed version of the documentation considering your specific fictional scenario.
Note
Executing tests as an administrator: The current guide takes the perspective of an organisation user. You can however also execute test sessions as an administrator to test your testing setup using your test organisation.
Steps
Carry out the following steps to complete this guide.
Step 1: Log in
The first step is to log into the Test Bed. To do this first access the Test Bed’s welcome page:
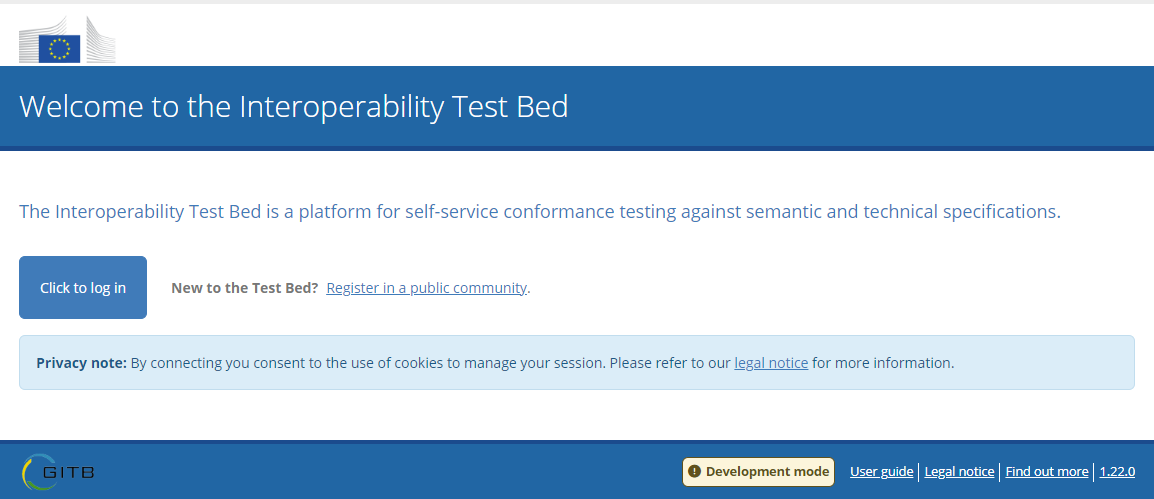
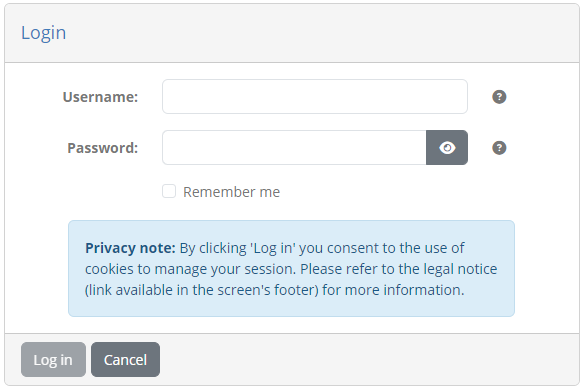
From here click the Click to log in button to be transferred to the login page and enter your organisation administrator’s credentials:
Email: user@acme
Password: admin
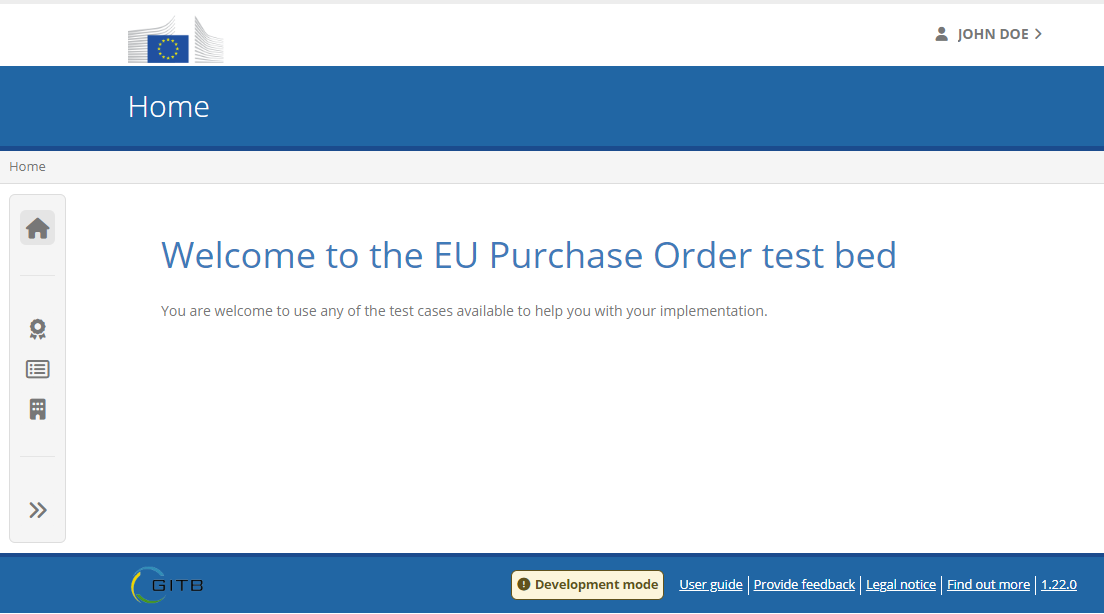
If this is your first time logging in with this account you will be prompted to replace your password. Once you do this you will be greeted with the Test Bed’s landing page:
Note
Further info: The Test Bed’s landing page is where you and your users can access all the Test Bed’s features. It also serves as the place where administrators can share with Test Bed users information to guide them through their testing.
Check the user guide’s Log in section for more details.
Step 2: Create a system
The first step will be to create a system for your organisation. This represents the actual software component that you eventually want to have a conformance statement for. To do this first click on My organisation from the left-side menu to view your organisations details.
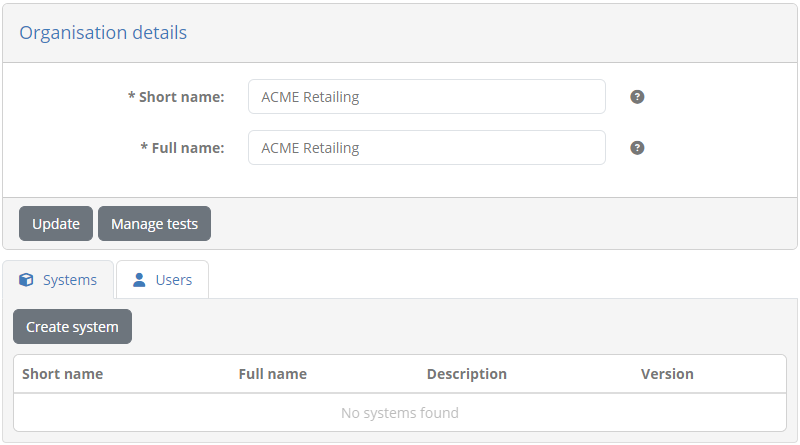
Here you can see the currently empty list of systems in the Systems tab. Click on Create system to provide the information for your system to be tested.
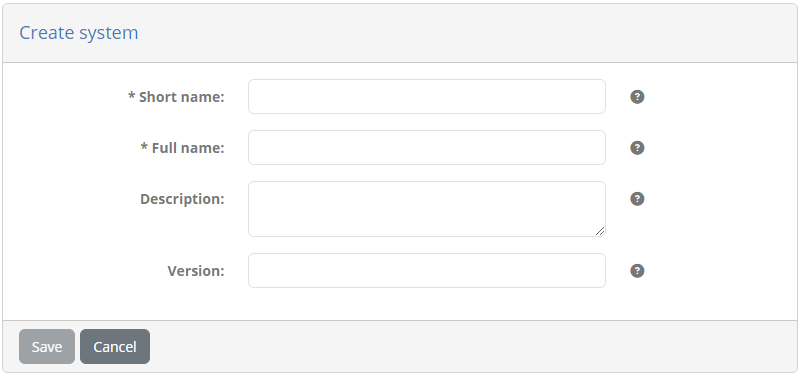
Complete this form with the following information:
Short name: ACME backend retailing system
Full name: ACME backend retailing system
Description: ACME’s retailing software (version 1.0) for purchase order management.
Version: 1.0
When ready click the Save button to create the system. You should now see your new system displayed:

Note
Further info: An organisation may have multiple systems, each with different conformance testing needs. Configuring this is an administrative task (either the organisation’s or the community’s) which is hidden from normal users.
Check the user guide’s Manage your systems section for more details.
Step 3: Create a conformance statement
With a system created the next step is to choose what it will be testing for, i.e. its conformance statement(s). Start by clicking the Manage tests button from the organisation details, or the My conformance statements from the lest-side menu. Doing so presents you the (currently empty) set of conformance statements for your organisation’s system.
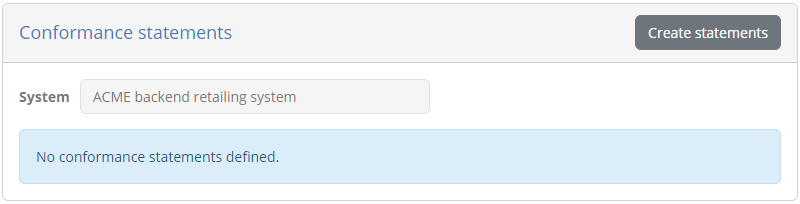
Click the Create statements button. This will present the available conformance statements for your system based on your community’s configured specifications. In this case as there is only a single statement available it appears as preselected. (for an explanation of the test scenario this guide considers check Step 1: Define your testing needs from Guide: Creating a test suite):
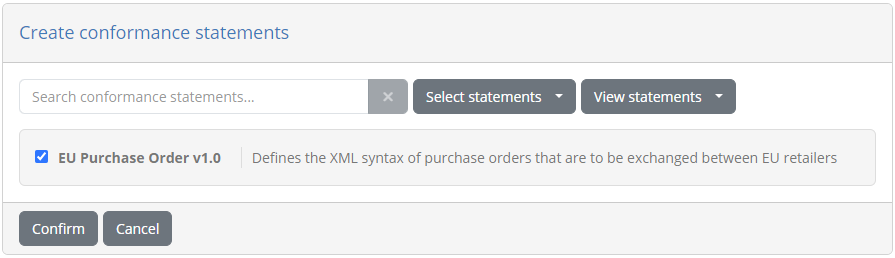
To complete click on Confirm. Doing so creates your conformance statement that you should now see listed.

This display also highlights for you the testing results you have up to now for this conformance statement. As you just created this you see that you have zero test cases marked as “passed” (there will be a single “incomplete” result).
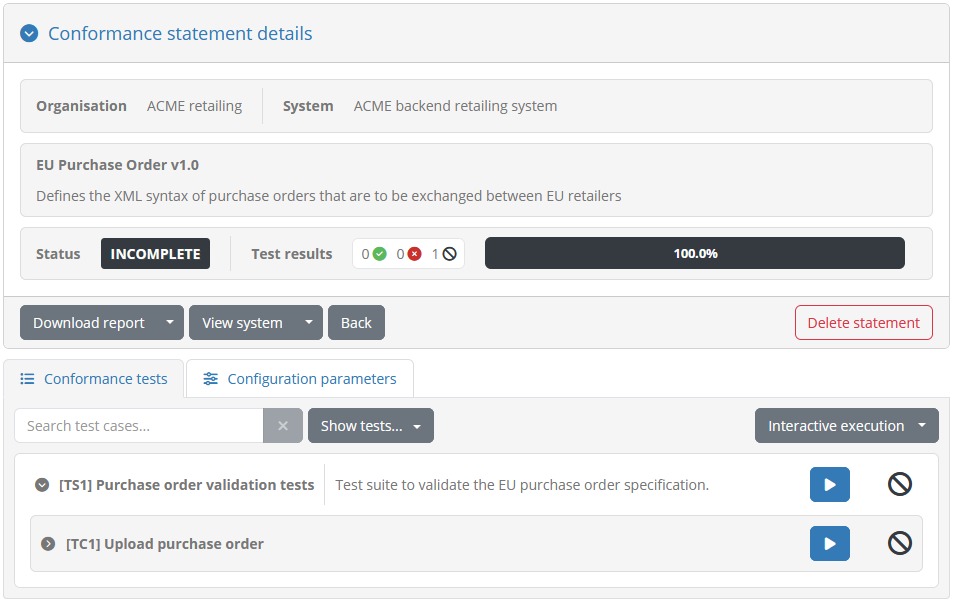
To view the conformance statement’s details, click on its row from the table. Doing so will bring up the description of its configuration as well as list the test cases that are available for execution:
Note
Further info: Conformance statements are key concepts as they form the link between the test cases to test against and the systems under test. From here you can see an overview of available tests and your current results, and also generate your conformance statement report.
Check the user guide’s Manage your conformance statements section for more details.
Step 4: Execute a test case
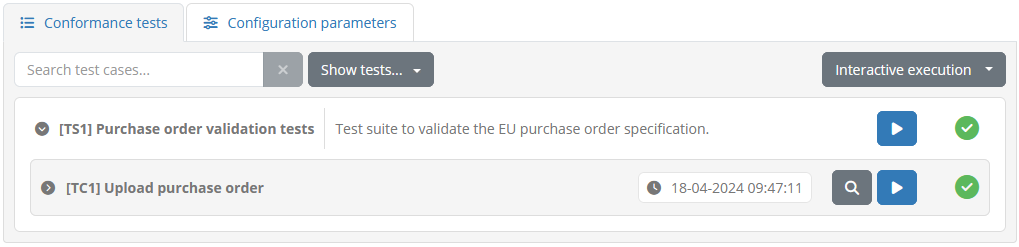
At the bottom of your conformance statement’s details you can see the list of available Conformance tests.
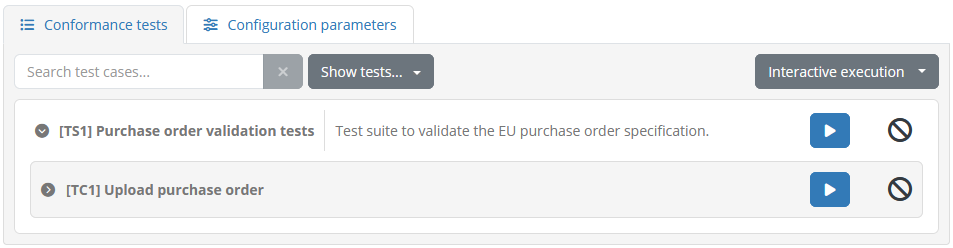
Given that your test configuration is quite simple you have a single test case available. Next to this you can see a Play button to trigger the test case’s execution. Click this to execute the test case.
In the screen that follows you are presented with the test case’s description as well as a diagram representing its test steps.
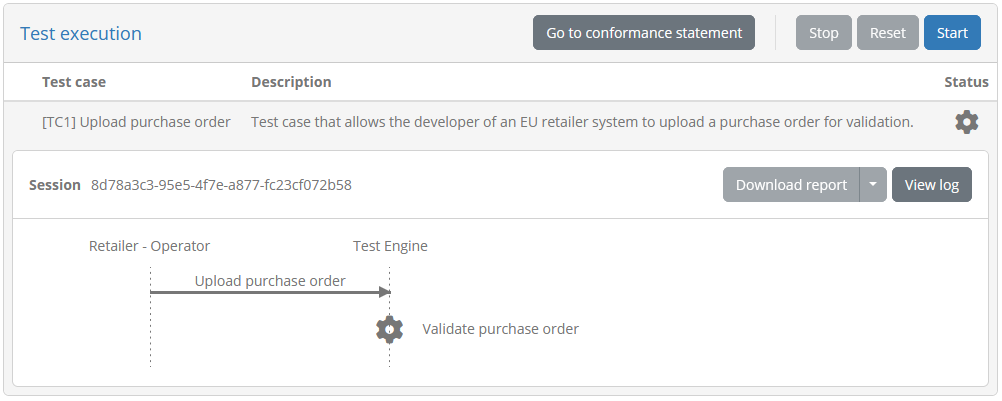
This test expects you as an operator for the “Retailer” actor to upload a purchase order for validation. Click on the Start button in the top right to begin execution. Doing so will result in a User interaction popup to appear that requests from you the purchase order to validate.
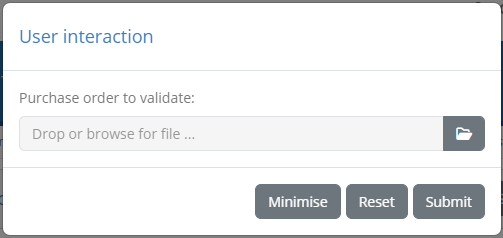
As a sample valid purchase order you can provide the one that is available here. Click the
upload control, select the purchase order XML file and finally click the Submit button to upload it.
If all goes well with the validation you will see the test case’s steps advancing until all complete successfully.
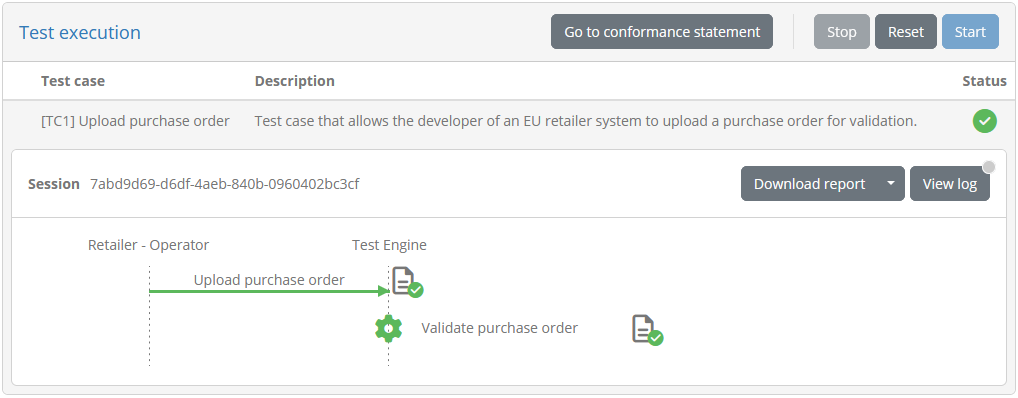
With the test session complete you can now click on Go to conformance statement in the top to return to the conformance statement’s detail page. In this you should now see the test case’s listing marked as a success. In addition the overall test status for the conformance statement will also be updated.
Note
Further info: More complicated test cases may require configuration parameters to be provided from you before starting, as well as provided to you when the test session initialises. Regarding the execution, you can inspect its progress by clicking in each step’s results highlighted by a document icon.
Check the user guide’s Execute tests section for more details.
Step 5: View the results
To conclude this guide we will inspect the results of the test session in your organisation’s test history. Click the Test sessions link from the left-side menu to be presented with the list of all previously performed tests.
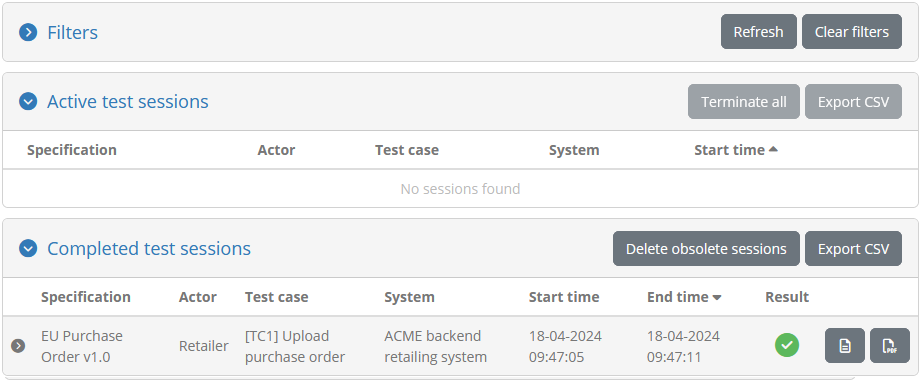
In this list you should see the entry corresponding to the test session you just completed. Click on its row to view its details:
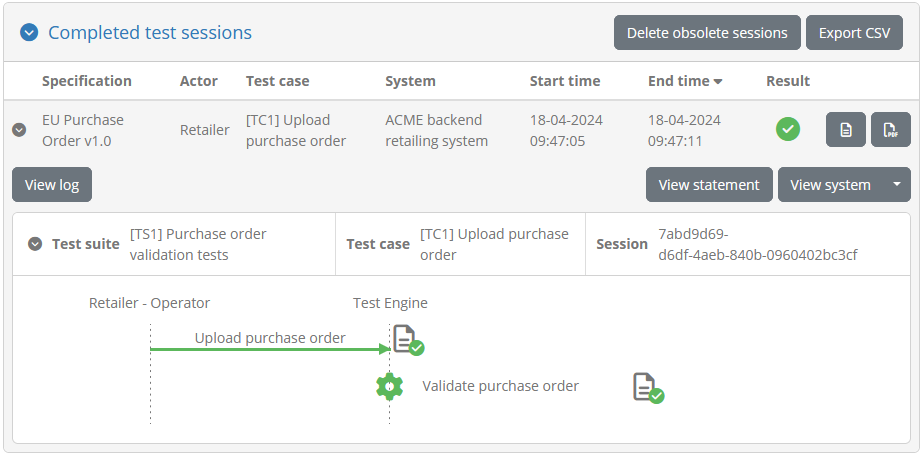
This screen displays the same diagram you saw during the test session’s execution in the previous step. From here you can click on individual steps (see the presented document icon) to bring up the information recorded by them.
Summary
Congratulations! You have just used the Test Bed to execute a test case. In doing so you configured a system and a conformance statement based on the test setup that was made available to you by your administrator.
See also
Be sure to check out the Test Bed user guide for further information on the steps you completed as well the Test Bed’s additional features.
In terms of additional guides you may find interesting:
Guide: Defining your test configuration that walks you through the steps carried out by an administrator to put in place the test setup you used.
Guide: Creating a test suite for the step-by-step description to create the test case you executed.