Manage system configuration
Most configuration in the Test Bed is linked to specific communities and domains, and is managed respectively from the community management and domain management screens. Everything that is not covered by these screens is managed through the System administration screen that allows you, as Test Bed administrator, to manage the overall configuration of the Test Bed. To access it click the relevant link from the menu.
The displayed page allows you to:
Manage configuration settings.
Manage the Test Bed’s administrators.
Manage default landing pages, legal notices and error templates for the hosted communities.
Manage the Test Bed’s theme.
Manage system-wide resources.
Manage configuration settings
On the top of the screen you are presented with a panel listing the system configuration properties. These are properties that can for the most part be managed also through environment variables set as part of the Test Bed’s installation.
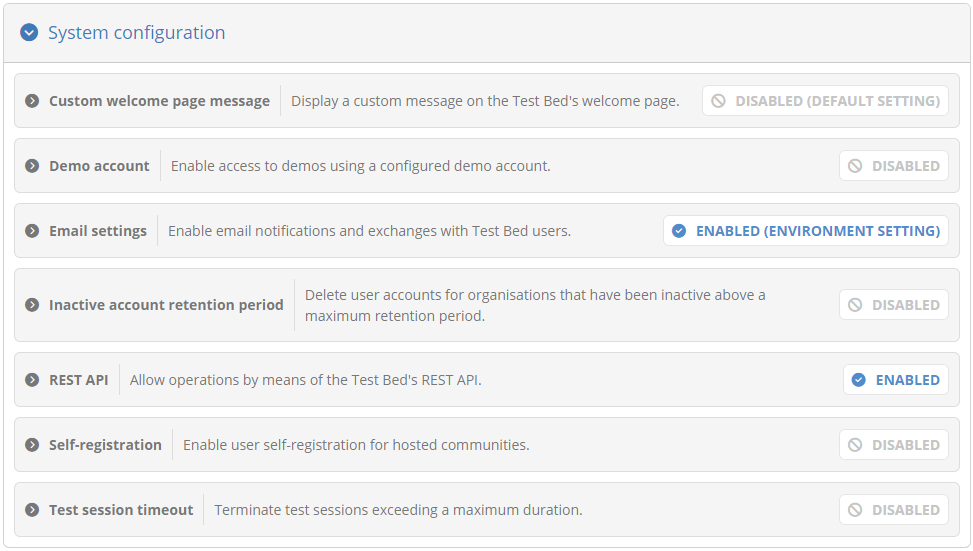
For each setting, you are presented with its name and description, followed by a status indicator that shows if the setting is enabled, and how it was set. The status indicates if the setting is enabled or disabled and may be followed by an additional postfix:
No postfix, means that the setting in question was made through this screen.
“Environment setting”, indicates this is set through an environment variable in the Test Bed’s installation configuration.
“Default setting”, indicates this is an overall default setting.
In terms of priority, a setting through this screen takes precedence over an environment variable, which is turn takes precedence over a default setting. Note that any setting applied through the current screen shall have immediate application as opposed to using an environment variable which would require a restart.
To edit any setting, click its row to expand its panel and reveal its controls. The specific controls depend on the selected setting but would typically include a means of enabling or disabling it, and if enabled, provide further information.

The settings that can be managed through this screen are listed int he following table. The table also references relevant environment variables (if applicable) if you prefer to have these configured via the Test Bed’s installation script.
Setting |
Description |
Environment variable(s) |
Default |
|---|---|---|---|
Custom welcome page content |
A custom text and title to display on the Test Bed’s welcome page. |
Disabled |
|
Demo account |
An optional, non-administrator account that users can use to connect with from the login screen to execute demos. |
|
Disabled |
Email settings |
Settings related to allow the Test Bed to send emails when applicable. |
|
Disabled |
Inactive account retention period |
Whether inactive user accounts will be removed after a maximum retention period. |
Disabled |
|
REST API |
Whether the Test Bed’s REST API is available and API usage limits. |
|
Disabled |
Self-registration |
Whether users are allows to self-register for communities supporting self-registration. |
|
Enabled |
Startup configuration wizard |
Whether the startup configuration wizard will trigger when the Test Bed administrator accesses the home page. |
|
Enabled |
Software version check |
Settings related to including an online software version check as part of the service health dashboard. |
|
Disabled |
Test session timeout |
A duration in seconds after which an active test session will be terminated. This can also be set with specific values for sessions with pending user interactions. |
None |
|
Usage tips |
Whether usage tips will be displayed on selected screens for Test Bed administrators. Tips can be reset by disabling them and re-enabling them here. |
Enabled |
Updating each setting is done individually through its relevant controls. All such controls include a Save button that you may click to persist your choice. Note that the overall settings panel can also be collapsed and expanded by clicking on its header.
REST API configuration
Prepare for shutdown
Manage system administrators
To manage the system administrators, select the Administrators tab beneath the settings panel.

Administrators are listed in a table with one row per user displaying the user’s name, email address (or username if integrated with an external identity provider) and status.
Note
User status: A user’s status is meaningful when the Test Bed is integrated with an external identity provider. A value of Inactive indicates a user that has not yet confirmed a role assignment whereas a value of Not migrated indicates a legacy account that has not been migrated. In all other cases the user will be displayed as Active.
To create a new Test Bed administrator click on the Create system administrator button. Clicking on an existing row from the table allows you to edit the relevant user’s information.
The displayed screens and required information, both when you edit or create a new administrator, depend on whether or not the Test Bed is integrated with an external identity provider.
Case: Using an identity provider
When creating an administrator you will be presented with a form to enter the user’s information.
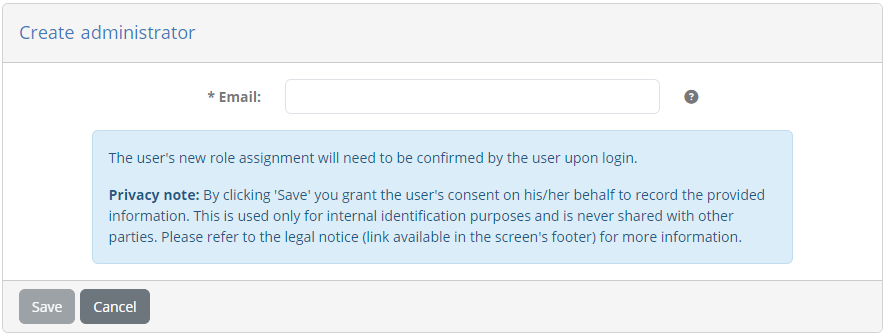
You are required to provide the email address of the user. This address needs to be the one that the user has linked to her identity provider’s account. Once you have created the user you will see a new entry added to the list of Test Bed administrators but for which there is no displayed name and the displayed status is Inactive. The name and status will be updated once this user has confirmed this role assignment. To finish creating the user click Save, otherwise click Cancel to go back.
Editing an administrator’s details displays her information as readonly.
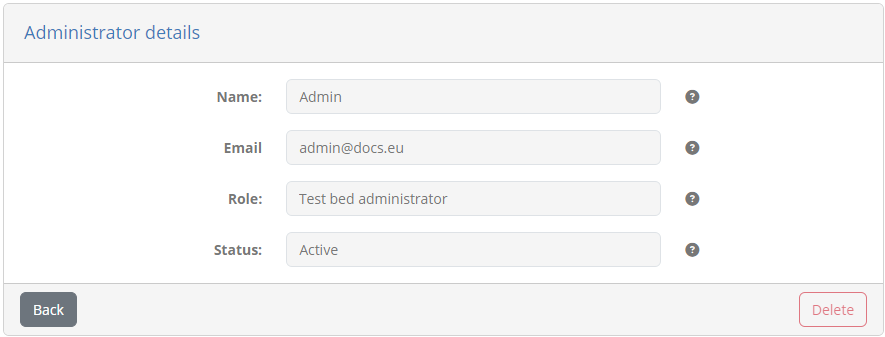
The information presented here is the user’s name, email, role, and status. From here you can delete the user by clicking on Delete unless this is your own account. Finally, clicking Back will return you to the previous screen.
Case: No identity provider
When creating an administrator you will be presented with a form to enter the user’s information.
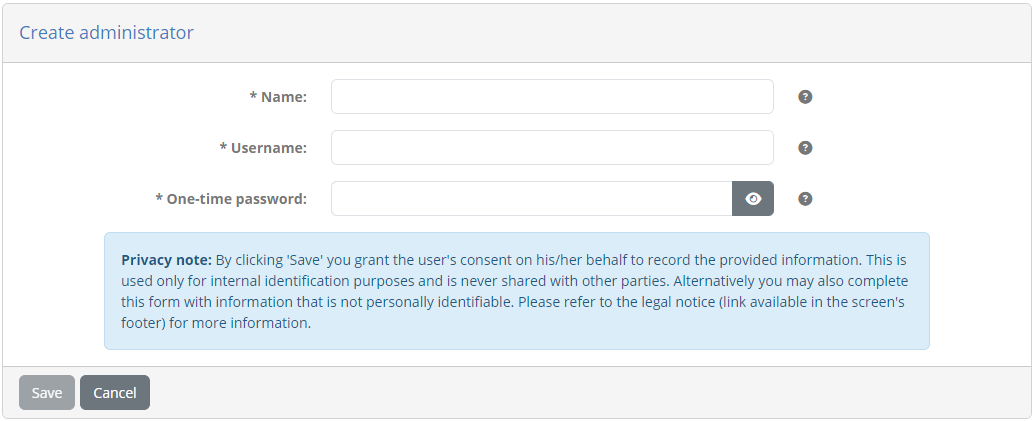
In this form you are expected to provide the following information:
The administrator’s name (required), used in feedback submissions to the Test Bed.
The username (required), used to login.
The user’s password. The entered password is a “one-time” password which will need to be changed by the user upon his/her next login.
To complete the creation of the new administrator click on Save. Clicking Cancel discards changes and returns you to the previous screen.
When editing a user you see a similar screen, this time prefilled with the user’s information.
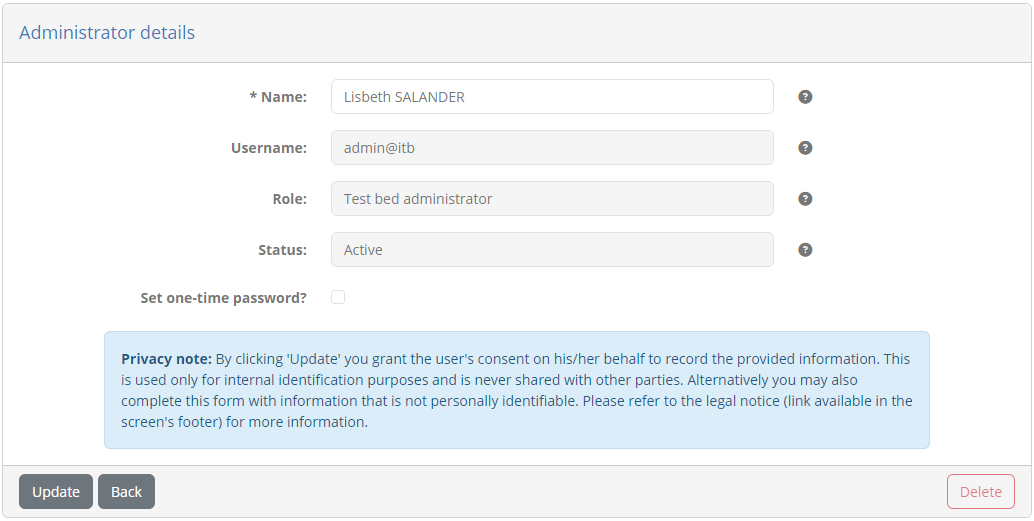
The information presented here is the user’s name, username, role, and status, of which only the name is editable. To change the name edit the existing value and click on Update, whereas to delete the user click on Delete (unless this is your own account). Finally, clicking Back will discard any pending changes and return you to the previous screen.
In this form you may also choose to reset the user’s password. You can do this by checking the Set one-time password option which will display for you additional input fields to provide and confirm the new password. The password you enter is considered a “one-time” password meaning that the user will be forced to change it at his/her next login.
Manage default landing pages
To manage the default landing pages, select the Default landing pages tab from beneath the settings panel. Default landing pages are used by your communities if no community-specific landing page has been configured.

Adding a new landing page can be done in one of the following ways:
You can create a new landing page from scratch by clicking the Create landing page button.
You can copy one of the existing landing pages while editing its details.
Note
You can set a specific landing page for your own “admin organisation”. If none is set the default Test Bed landing page will be used.
Create landing page
When creating a new landing page you are presented with a form to enter its information.
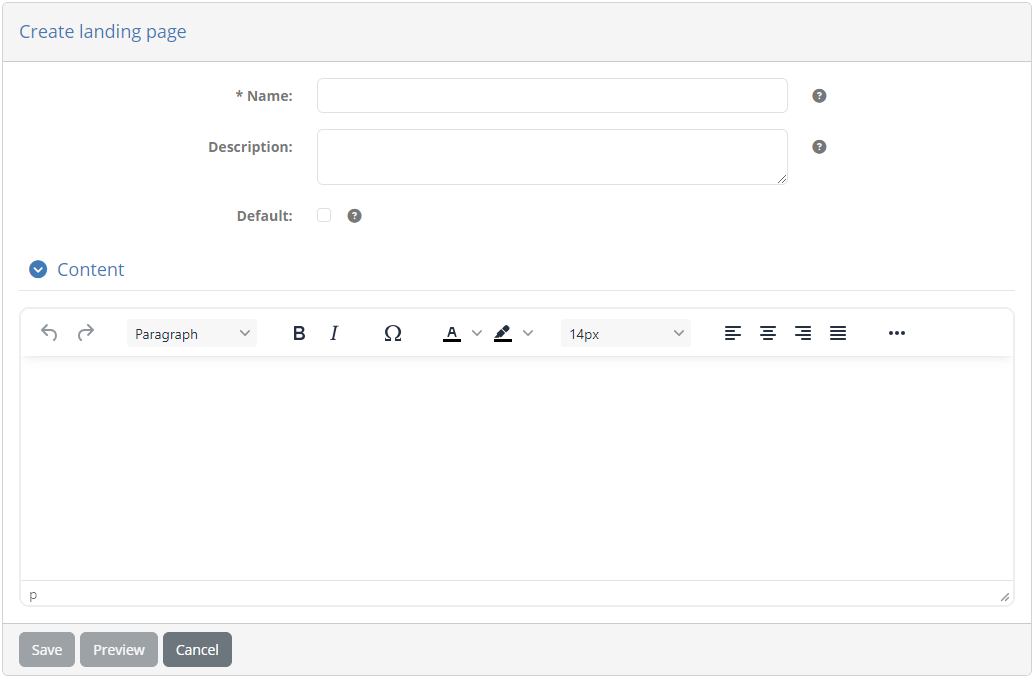
If you are creating a landing page from scratch (i.e. you have clicked the Create landing page button), this form will be empty. Alternatively, if the landing page is being created as a copy of an existing one, the form will be prefilled.
The information you are expected to complete for the landing page is:
Its name (required), used in the list of landing pages and when selecting one for an organisation.
Its description (optional), presented to Test Bed and community administrators.
Whether or not it should be the default landing page for the community (default is “false”).
The landing page content, provided through a rich text editor, allowing you to add styled text, lists, images and links.
Above the rich text editor you have a Copy system-wide resource reference control that allows you to search in-place your system resources, such as images to include or files to add download links for. Once you find the resource you’re looking for you can click it to copy its reference to the clipboard. You can then use this reference as e.g. the source of an image file or the target of a link.
While editing the content of the landing page you can use the Preview button to preview how the landing page will look like before you save it. The preview is presented in a popup that is styled and positioned exactly as the landing page would appear when users log in. This allows you to fine tune aspects such as positioning and spacing to make sure the result is exactly how you expect it to be.
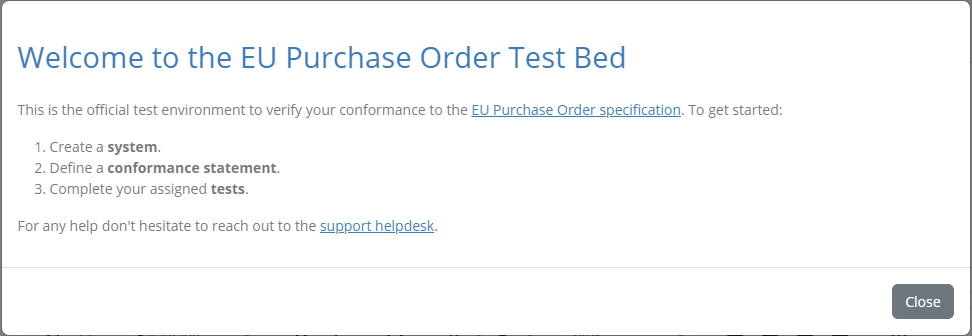
When you have finished defining the landing page you can complete its creation by clicking Save. Note that if you have set this as the new default landing page for the Test Bed you will also be prompted for confirmation considering that this will be immediately visible to all your users. Clicking on the Cancel button will discard pending changes and return to the previous screen.
Edit landing page
To edit an existing landing page click its corresponding row from the Landing pages table.
Doing so will take you to a screen where the landing page’s information is displayed in editable form fields.
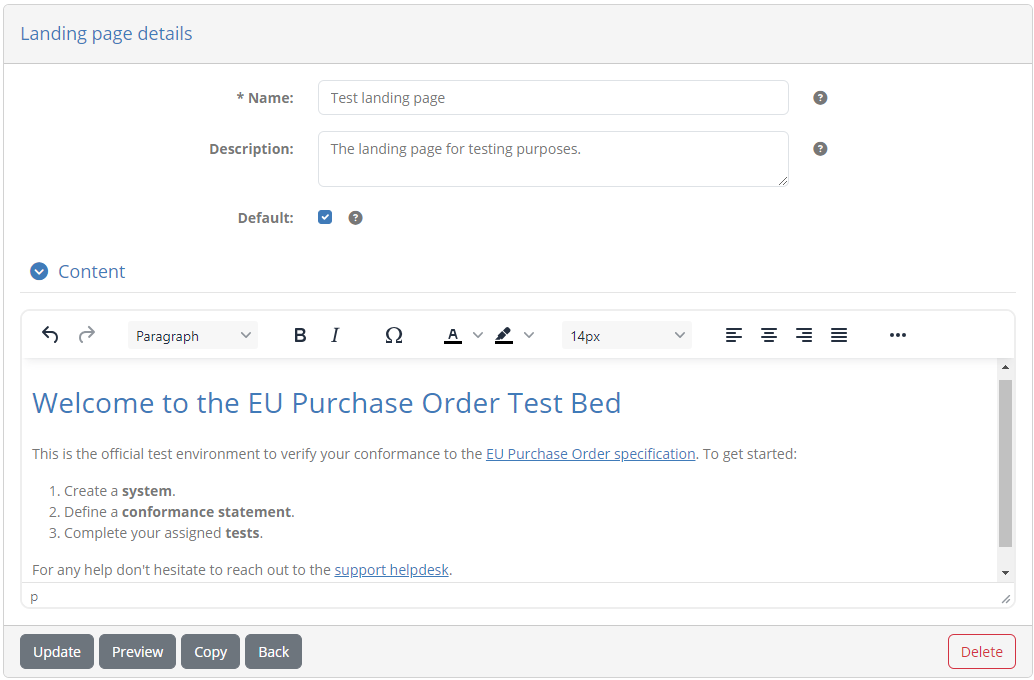
In this screen you can change the landing page’s name, description, default setting and content. Note that if the landing page is currently the default, this can’t be unset. To switch defaults you would need to edit or create another landing page and at that time set it as the new default. This is done to avoid misconfiguration where you could end up with no default landing page.
Above the rich text editor you have a Copy system-wide resource reference control that allows you to search in-place your system resources, such as images to include or files to add download links for. Once you find the resource you’re looking for you can click it to copy its reference to the clipboard. You can then use this reference as e.g. the source of an image file or the target of a link.
While editing the content of the landing page you can use the Preview button to preview how the landing page will look like before you save it. The preview is presented in a popup that is styled and positioned exactly as the landing page would appear when users log in. This allows you to fine tune aspects such as positioning and spacing to make sure the result is exactly how you expect it to be.
To persist any changes click on the Update button or discard them clicking on the Back button. The Delete button will, following confirmation, remove the landing page. Finally, the Copy button allows you to make a copy of this landing page, by taking you to the landing page creation screen prefilled with the current landing page’s information.
Manage default legal notices
To manage the default legal notices, select the Default legal notices tab from beneath the settings panel. Default legal notices are used by your communities if no community-specific legal notice has been configured.

Adding a new legal notice can be done in one of the following ways:
You can create a new legal notice from scratch by clicking the Create legal notice button.
You can copy one of the existing legal notices while editing its details.
Create legal notice
When creating a new legal notice you are presented with a form to enter its information.

If you are creating a legal notice from scratch (i.e. you have clicked the Create legal notice button), this form will be empty. Alternatively, if the legal notice is being created as a copy of an existing one, the form will be prefilled.
The information you are expected to complete for the legal notice is:
Its name (required), used in the list of legal notices and when selecting one for an organisation.
Its description (optional), presented to Test Bed and community administrators.
Whether or not it should be the default legal notice for the community (default is “false”).
The legal notice content, provided through a rich text editor, allowing you to add styled text, lists, images and links.
Above the rich text editor you have a Copy system-wide resource reference control that allows you to search in-place your system resources, such as images to include or files to add download links for. Once you find the resource you’re looking for you can click it to copy its reference to the clipboard. You can then use this reference as e.g. the source of an image file or the target of a link.
While editing the content of the legal notice you can use the Preview button to preview how it will look like before you save it. This allows you to fine tune its presentation and content to make sure the result is exactly how you expect it to be.

When you have provided the required information you can complete the legal notice creation by clicking Save. Note that if you have set this as the new default legal notice you will also be prompted for confirmation considering that this will be available to all users. Clicking on the Cancel button will discard pending changes and return to the previous screen.
Edit legal notice
To edit an existing legal notice click its corresponding row from the Legal notices table.
Doing so will take you to a screen where the legal notice’s information is displayed in editable form fields.
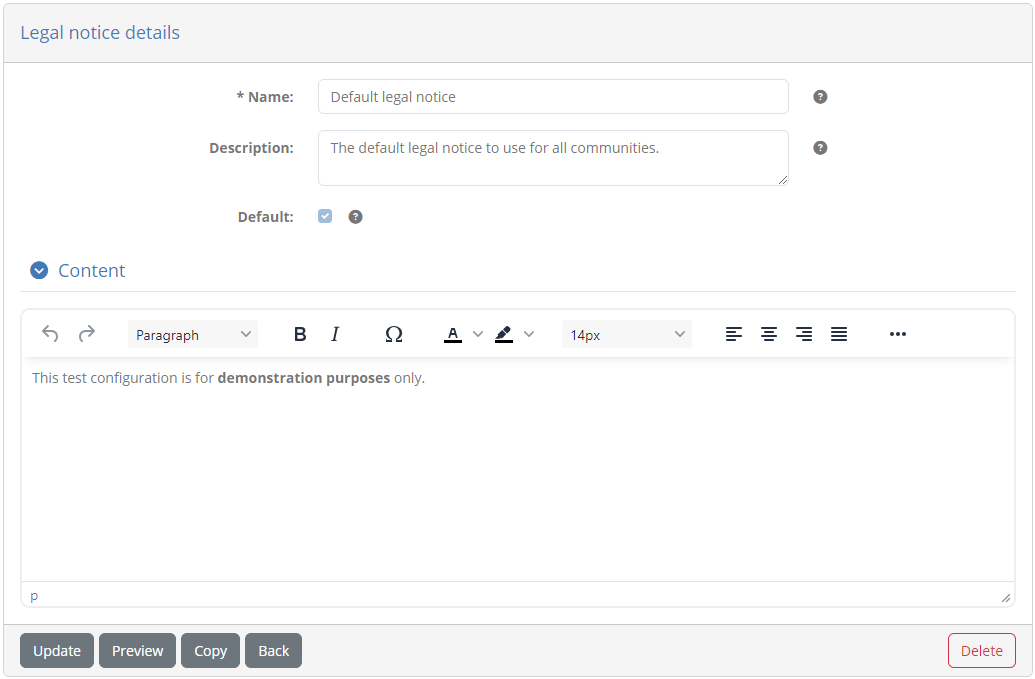
In this screen you can change the legal notice’s name, description, default setting and content. Note that if the legal notice is currently the default, this can’t be unset. To switch defaults you would need to edit or create another legal notice and at that time set it as the new default. This is done to avoid misconfiguration where you could end up with no default legal notice.
Above the rich text editor you have a Copy system-wide resource reference control that allows you to search in-place your system resources, such as images to include or files to add download links for. Once you find the resource you’re looking for you can click it to copy its reference to the clipboard. You can then use this reference as e.g. the source of an image file or the target of a link.
While editing the content of the legal notice you can use the Preview button to preview how it will look like before you save it. This allows you to fine tune its presentation and content to make sure the result is exactly how you expect it to be.
To persist any changes click on the Update button or discard them clicking on the Back button. The Delete button will, following confirmation, remove the legal notice. Finally, the Copy button allows you to make a copy of this legal notice, by taking you to the legal notice creation screen prefilled with the current legal notice’s information.
Manage default error templates
To manage the default error templates, select the Default error templates tab from beneath the settings panel. Default templates are used by your communities if no community-specific template has been configured.

Adding a new error template can be done in one of the following ways:
You can create a new template from scratch by clicking the Create error template button.
You can copy one of the community’s existing templates while editing its details.
Create error template
When creating a new error template you are presented with a form to enter its information.
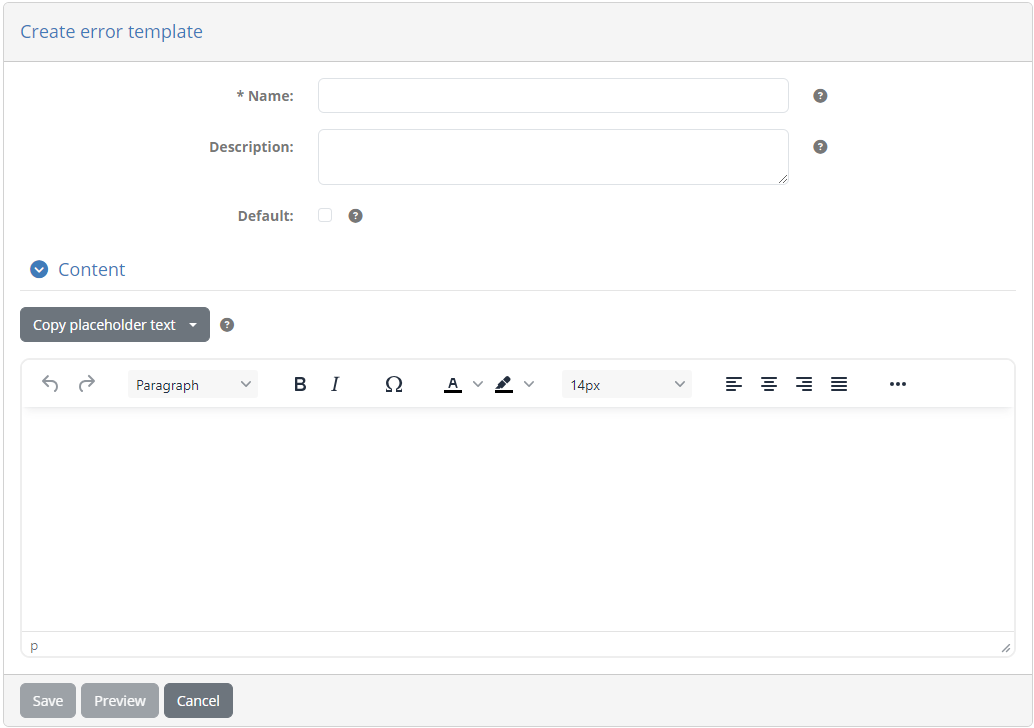
If you are creating an error template from scratch (i.e. you have clicked the Create error template button), this form will be empty. Alternatively, if the template is being created as a copy of an existing one, the form will be prefilled.
The information you are expected to complete for the error template is:
Its name (required), used in the list of templates and when selecting one for an organisation.
Its description (optional), presented to administrators.
Whether or not it should be the default template for the community (default is “false”).
The template’s content, provided through a rich text editor, allowing you to add styled text, lists, images and links.
When completing the content of the template you are also provided with two placeholders you can use that will be completed when an actual error is being treated:
$ERROR_DESCRIPTION: The error message text (a text value - may be empty).
$ERROR_ID: The error identifier (used to trace error in logs).
You can review and copy these placeholder values to your content using the Copy placeholder text button. In addition, above the rich text editor you have a Copy system-wide resource reference control that allows you to search in-place your system resources, such as images to include or files to add download links for. Once you find the resource you’re looking for you can click it to copy its reference to the clipboard. You can then use this reference as e.g. the source of an image file or the target of a link.
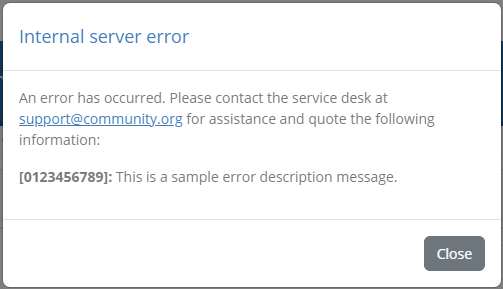
While editing the template’s content you can see a preview of what it would look like when used. To do so click the Preview button that will open an error popup using a sample error and your current template:
When you have provided the required information you can complete the template’s creation by clicking Save. Note that if you have set this as the new default you will also be prompted for confirmation. Clicking on the Cancel button will discard pending changes and return to the previous screen.
Edit error template
To edit an existing error template click its corresponding row from the Error templates table.
Doing so will take you to a screen where the template’s information is displayed in editable form fields.
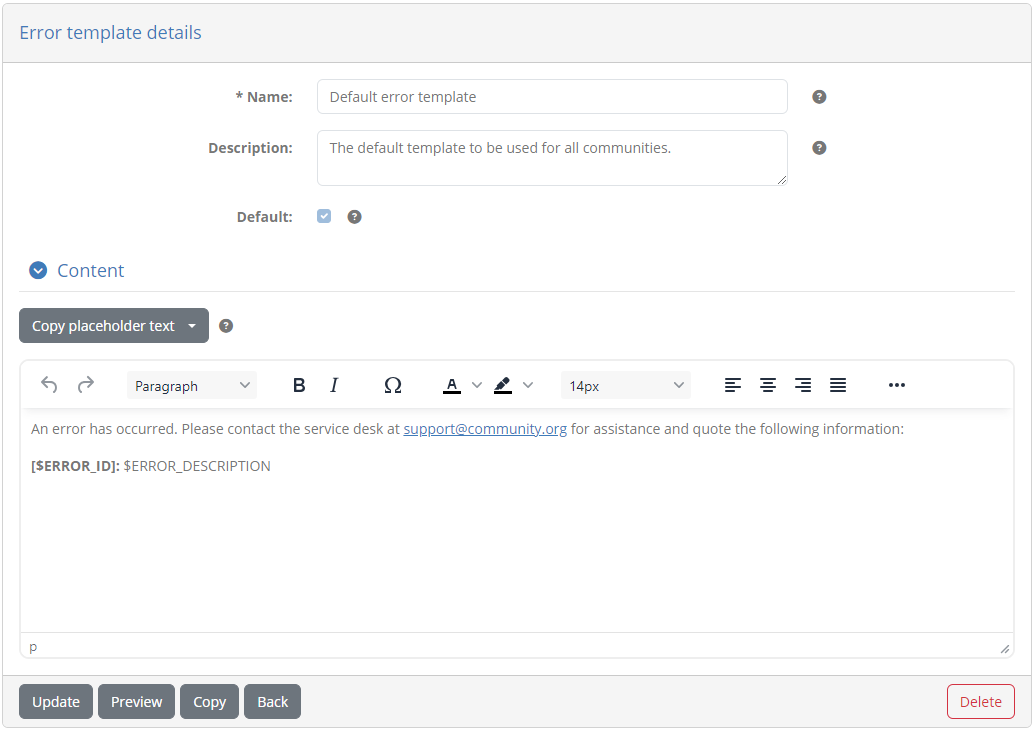
In this screen you can change the template’s name, description, default setting and content. Note that if the template is currently the default, this can’t be unset. To switch defaults you would need to edit or create another one and at that time set it as the new default. This is done to avoid misconfiguration where you could end up with no default error template.
When completing the content of the template you are also provided with two placeholders you can use that will be completed when an actual error is being treated:
$ERROR_DESCRIPTION: The error message text (a text value - may be empty).
$ERROR_ID: The error identifier (used to trace error in logs).
You can review and copy these placeholder values to your content using the Copy placeholder text button. In addition, above the rich text editor you have a Copy system-wide resource reference control that allows you to search in-place your system resources, such as images to include or files to add download links for. Once you find the resource you’re looking for you can click it to copy its reference to the clipboard. You can then use this reference as e.g. the source of an image file or the target of a link.
While editing the template’s content you can see a preview of what it would look like when used. To do so click the Preview button that will open an error popup using a sample error and your current template:
Once you are finished click on the Update button to persist your changes or discard them clicking on the Back button. The Delete button will, following confirmation, remove the template. Finally, the Copy button allows you to make a copy of this error template, by taking you to the creation screen prefilled with the current template’s information.
Manage themes
As Test Bed administrator you can adapt the Test Bed’s look and feel to match your organisation’s needs. Look and feel settings are grouped into themes, allowing you to define multiple themes from which one will be set as active. Managing the Test Bed’s themes is done from the Themes tab.
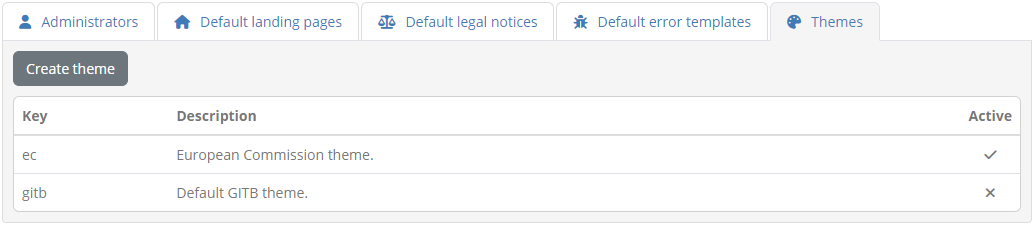
By default, the Test Bed comes with two built-in themes that can be deactivated but not removed: a European Commission theme with a key of ec
and a GITB theme with a key of gitb. The GITB theme is the active one following a clean Test Bed installation. The active theme can be set through
the user interface when editing a theme, or by setting the THEME environment variable to match a theme’s
key.
All pre-configured and custom themes are listed in this tab, presenting for each one:
Its key, the unique identifier that can be used as the value of the
THEMEenvironment variable.Its description, giving a brief explanation on the purpose of the theme.
Whether the theme is the active one.
Create theme
To create a new theme, click the Create theme button from the Themes tab.
Doing so will present a form in which you can define all the theme’s information and settings. The default settings for the theme are initialised based on the currently active one.
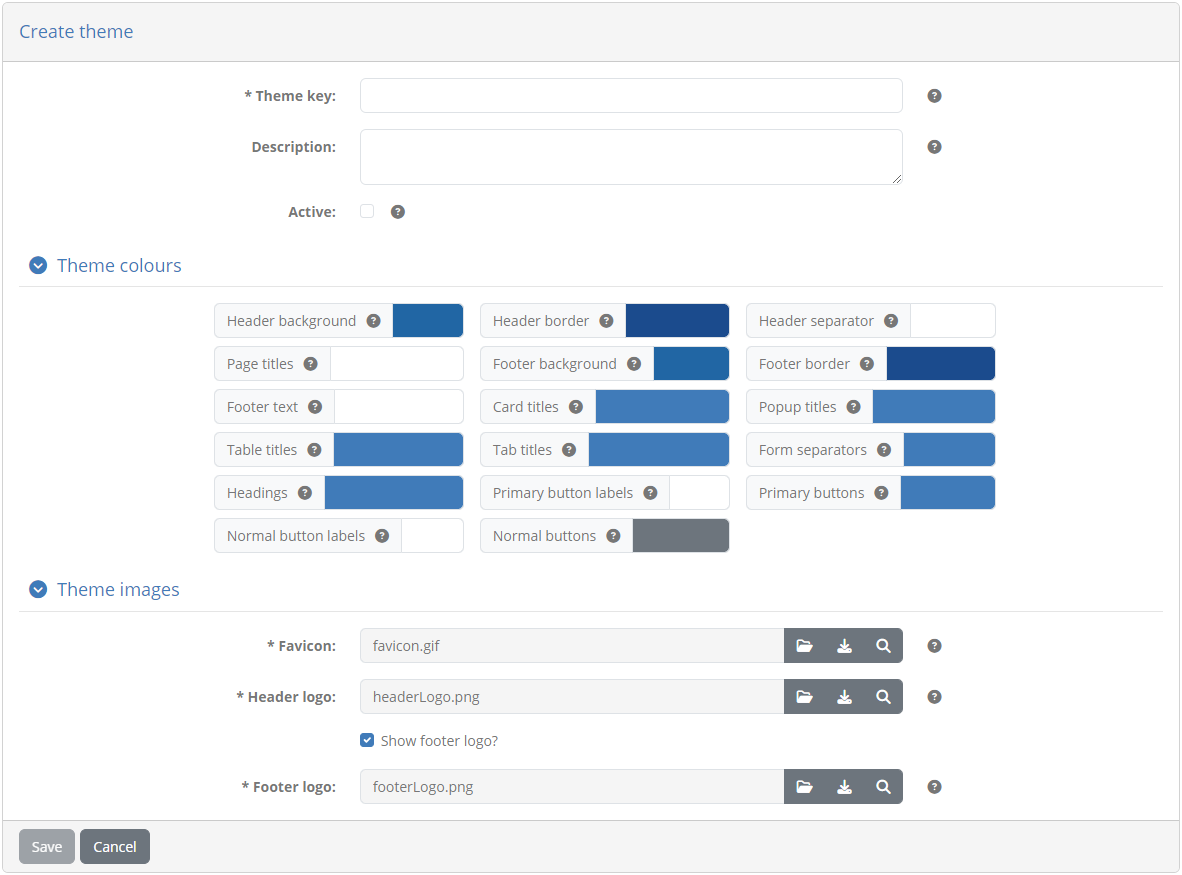
The information you are expected to provide here is as follows:
The theme’s unique key and description.
Whether the theme should be the active one.
The theme’s colour set. For each setting here clicking the current colour will present a colour picker to choose the new value.
The theme’s images, including the header and footer logos, as well as the favicon. Images can be uploaded through the provided controls, downloaded and previewed.
Once you have completed the information and settings for the new theme, click on Save to persist your changes. If set as active, the new theme will be immediately applied to the Test Bed instance (other users will see the change upon their next login).
Note
New themes can also be made by selecting an existing theme and creating a copy of it.
Edit theme
To edit an existing theme click its row from the table presented in the Themes tab.
Doing so will present the theme’s information and settings.
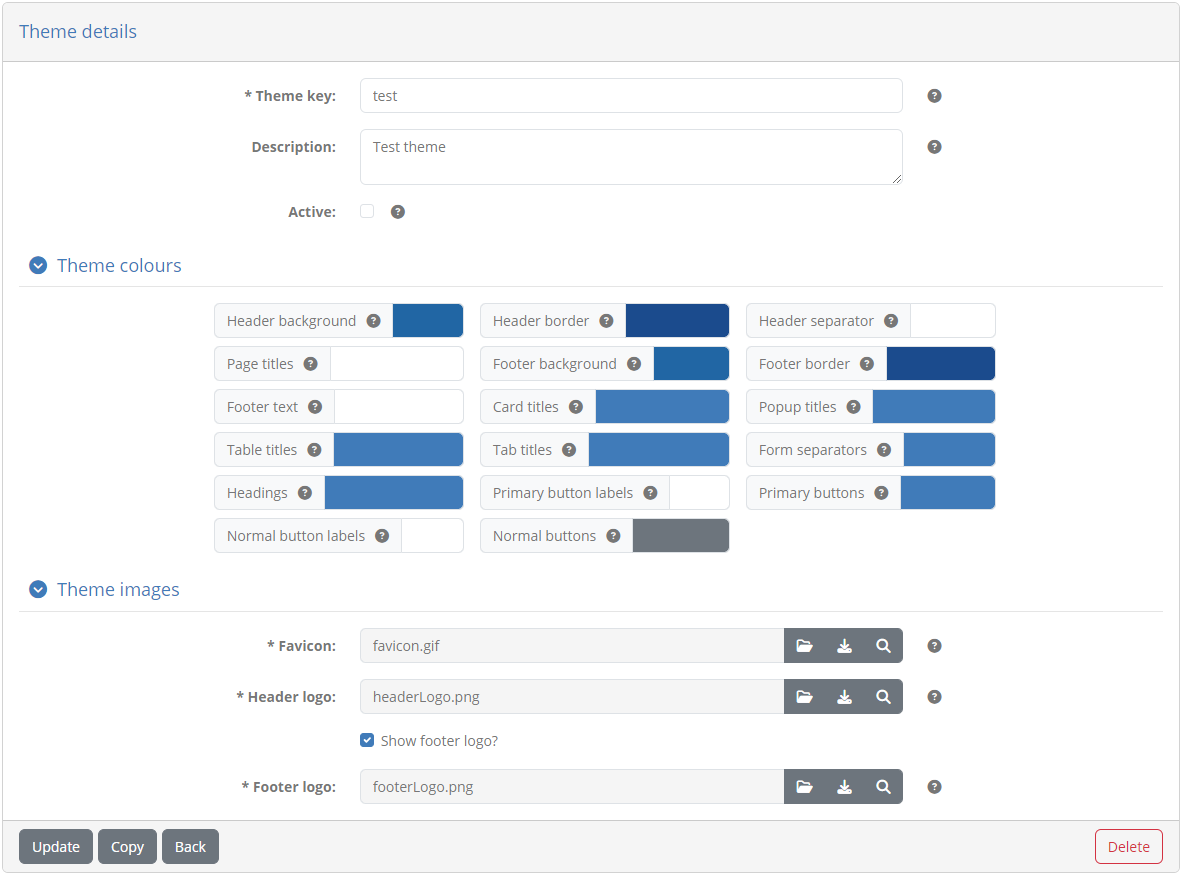
The fields and controls in this form match those when creating a new theme. To persist any changes, as well as activate (or deactivate) the theme, click the Update button. You may also click the Copy button here to create a new theme based on the current theme’s settings.
If you selected one of the Test Bed’s predefined themes, its information and settings are presented as readonly information with a message to explain this.
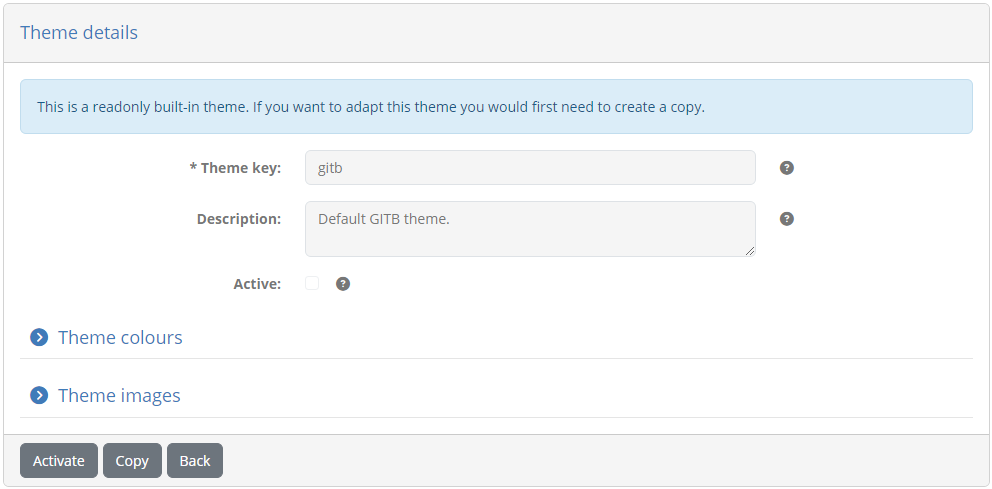
You cannot update such a predefined theme but you can choose to Activate it (if inactive) by clicking the relevant button. You can also Copy the theme to create a new one based on its settings.
Manage resources
In several cases the Test Bed supports the definition of rich content as documentation or as a means of customising the experience of all users, regardless of the specific community they belong to. Such cases are:
The welcome page displayed to users before logging in.
Default landing pages, legal notices and error templates.
Within such rich content it is possible to include additional resources, either as displayed images or download links. Typical examples are logos, diagrams, and links to documents. When referring to such resources, you may either point to external sources (e.g. a public documentation site for your project) or to resources defined internally within the Test Bed. The configuration and use of such resources is addressed in the current section.
Note
Community-specific resources: It is also possible for you and community administrators to define community-specific resources available to connected community users. These differ from system resources in that they are accessible only within their specific community.
Configured resources are displayed in the Resources section. Each resource is presented as a row displaying its file name, its reference to use when including it in rich content, and its description. For each resource you are provided with an option button with further controls to copy the resource’s reference to the clipboard, delete the resource, and download it.

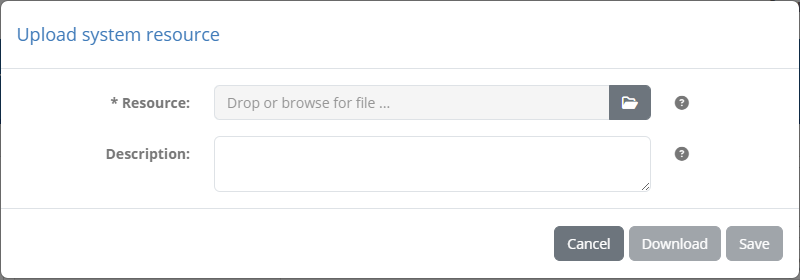
Above the listing of resources you have a search filter to search against resources’ names and descriptions in a case-insensitive manner. From here you may also select the Delete resources… button to delete one or more resources, or the Download all button to download all resources in a ZIP archive. Adding new resources is achieved through the Upload resource button that opens a popup in which you are asked to select the resource file and provide an optional description.
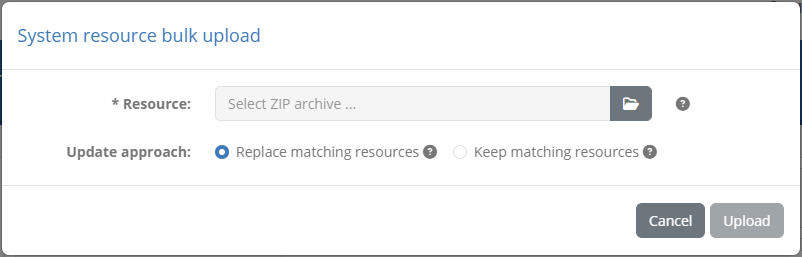
Alternatively, you may also click the options of the Upload resource button to perform a Bulk upload. Doing so will display a popup in which you can select a ZIP archive including all resources you would want to upload in one go. You may also select whether resources with the same name are to be replaced or kept.
Whenever you upload a resource with a name matching an existing one (regardless of case), the new resource will be added with an index postfix. The same applies when uploading in bulk and having chosen to keep matching resources. This is done because names of resources need to be unique within a community to allow you to unambiguously refer to them where needed.
To use a resource in rich content you simply need to provide the resource reference as the source of an image or link. This can be done both when editing rich content through the Test Bed’s user interface, but also when preparing documentation included in test suite archives. It is important to note that system-wide resources are publicly accessible to all users.